
AMR safety guide
AMR Pedestrian Zone Risk Assessment
Segment a mixed-pedestrian route, size speed limits from stopping distance, work through crossing cases, and document residual-risk sign-off before you set scanner fields.
Most AMR pilots treat pedestrian safety as a single line item: turn on the scanner, pick a site-wide speed, done. A route where people and robots share the floor needs an assessment structured around where and how people are actually present, not around the robot's spec sheet alone. This is a companion to, not a replacement for, AMR Safety Standards: ISO 3691-4 Site Checklist.
Step 1
Segment the route before you assess anything
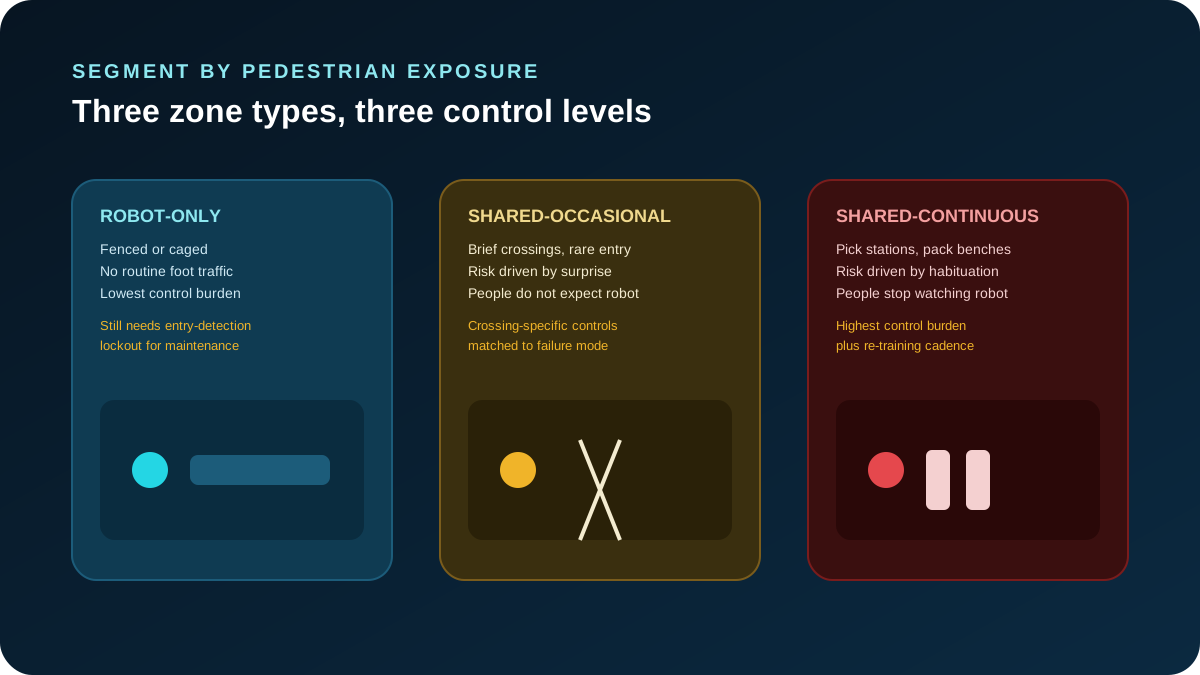
Walk the intended route with operations, safety and the integrator, and split it into zone types by pedestrian exposure rather than by aisle number: robot-only/excluded zones with no routine foot traffic, shared-occasional zones where people briefly cross or enter, and shared-continuous zones such as pick stations and pack benches where people are present most of the shift.
Segmentation matters because a single site-wide speed limit is either too conservative for the robot-only zone or too fast for the habituated shared-continuous zone. Record each zone boundary on the same controlled drawing the integrator uses for scanner-field and speed-zone configuration, so the assessment and the robot's actual configuration stay traceable to each other.
Step 2
Set speed limits from stopping distance, not habit
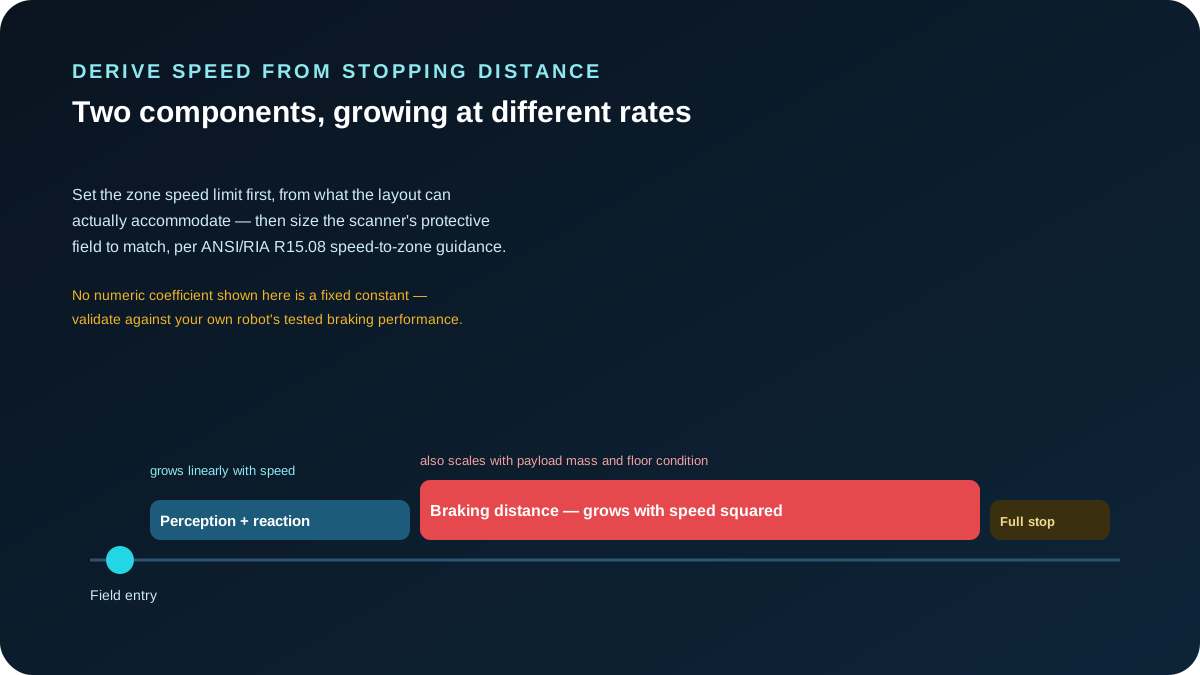
Each zone needs its own speed cap, derived from two components: perception-and-reaction distance, which grows roughly linearly with speed, and braking distance, which grows faster than speed alone and is also affected by payload mass, load height and floor condition. Because braking distance scales faster, small speed increases in a shared-continuous zone can require a disproportionately larger protective field.
Set the zone's speed limit first, from what the layout can actually accommodate, and only then let the scanner-field size follow — matching the speed-to-protective-field correlation described in ANSI/RIA R15.08 guidance. Do not adopt a numeric stopping-distance formula from a vendor page without validating it against your own robot's tested braking performance at your payload and floor condition.
Step 3
Treat every crossing and intersection as its own case
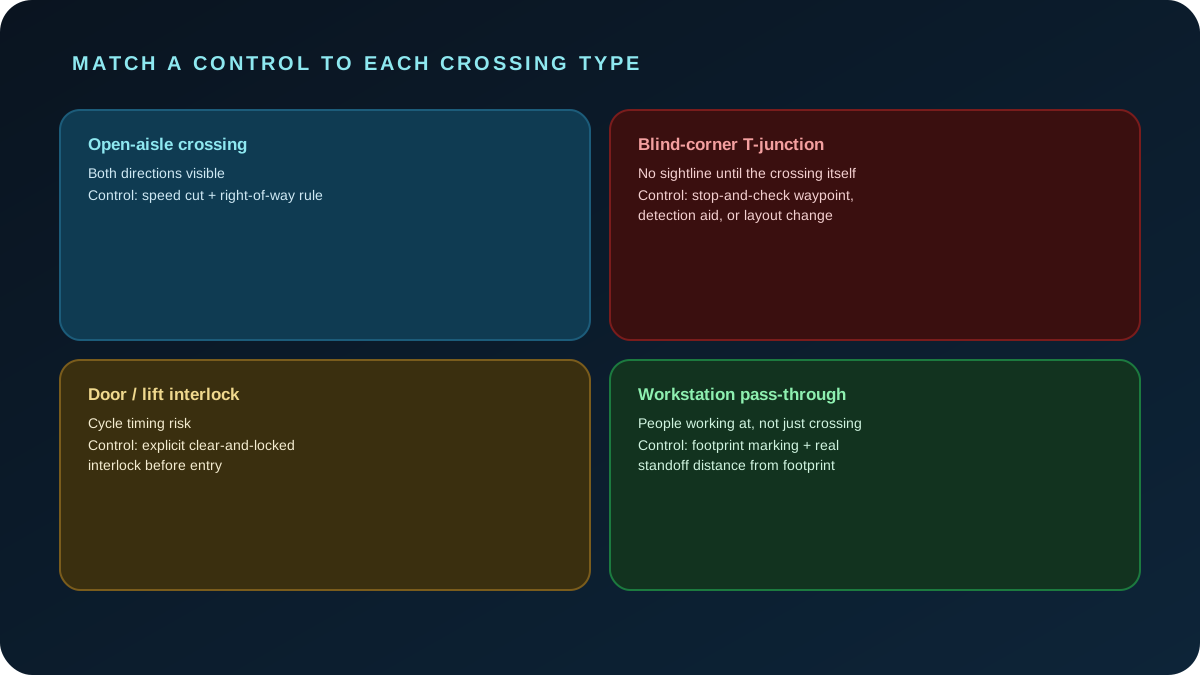
A single “reduce speed at intersections” rule undersells how different crossing types actually are. Work through the layout crossing by crossing and match a control to the failure mode that crossing actually has.
| Crossing type | Failure mode | Matched control |
|---|---|---|
| Open-aisle crossing | Both directions visible; risk is a fast robot meeting a distracted pedestrian. | Speed reduction plus a defined right-of-way rule or floor-marked crossing zone. |
| Blind-corner T-junction | No sightline in either direction until the crossing itself. | Stop-and-check waypoint, detection aid, or a layout change; mirrors alone are a weak sole control. |
| Door / lift interlock | A person can enter the path exactly as a door or lift cycles. | Explicit clear-and-locked interlock documented as its own hazard. |
| Workstation pass-through | People work at the route, not just cross it; risk is stepping out without checking. | Workstation-footprint marking plus a real standoff distance from the marked footprint. |
Step 4
Model worker behavior, not just robot behavior
A risk assessment that only models what the robot's sensors can detect misses half of the interaction. Habituation makes workers who see the robot repeatedly stop treating it as a hazard requiring active attention — which argues against relying on “workers will notice and step aside” as a control in continuously shared zones. Robot path and speed predictability also affect how much passing distance people prefer and how much stress they report, so consistent robot behavior at a given location is easier to route around safely than a path that varies unpredictably.
List the exceptions your site actually has
A worker pushing a cart with limited forward visibility, someone wearing hearing protection, a new hire untrained on the robot's routes. Pull these from safety, training or incident records rather than a generic list, and assign each one a control — route redesign, signage, training content, or a robot-side detection accommodation.
Step 5
Sign off residual risk like a decision, not a formality
No route reaches zero risk. State the residual risk explicitly per zone and crossing type, name the accountable sign-off owner — a person, not an abstract “the safety team” — and define the re-assessment triggers up front: a new rack row, a new door, a workflow change that adds foot traffic, a near-miss, or a change to speed, zone or map configuration. This turns sign-off into a living control that gets reopened when the floor actually changes.
Scope
How this differs from our safety-standards checklist
AMR Safety Standards: ISO 3691-4 Site Checklist is the right starting point for the complete compliance checklist across every control area. This article is narrower on purpose: it is the method for one line of that checklist — traffic and people / crossing behavior in a mixed-pedestrian route — worked through in enough depth to actually segment a route, size a speed limit and resolve a specific crossing. It does not restate ISO 3691-4 clause-by-clause, does not compare AGV and AMR architectures (see AGV vs AMR: What Is the Difference?), and does not cover pilot acceptance test pass/fail criteria. No HiO-specific certification or compliance claim is made anywhere in this article.
Buyer questions
FAQs
Does this replace a formal ISO 3691-4 or ANSI/RIA R15.08 risk assessment?
No. This is a method for structuring the pedestrian-interaction portion of that assessment. The formal standards define the compliance requirements and verification methods; a qualified safety resource should still confirm your documented assessment meets the applicable standard and any local regulatory requirement.
Do we need a different speed limit for every individual crossing?
Not necessarily every crossing, but every zone type and crossing type should have a limit derived from that location's actual stopping-distance and sightline constraints, not one number applied to the whole route. Several crossings of the same type can share one derived limit.
Who should be involved in the pedestrian risk assessment, not just the safety team?
Operations, who knows the real traffic pattern; maintenance, who knows the exception cases and access needs; the integrator, who configures scanner fields and speed zones to match; and workers who actually work the route, who know behaviors an outside assessor would miss.
When should the assessment be repeated?
Any time a re-assessment trigger from the sign-off step occurs: layout changes, new doors or racks, workflow changes that add foot traffic to a zone, near-misses, or changes to the robot's speed, zone or map configuration.
Sources
- Explanation of R15.08 — Safety Standard for Autonomous Mobile Robots (AMR) — speed-to-protective-field correlation.
- Axelent Safety Book — manual workstations and warehouse traffic — designing controls around the real traffic pattern.
- Dynamic and probabilistic safety zones for autonomous mobile robots operating near humans — ScienceDirect.
- OSHA robotics standards overview — U.S. regulatory context.
Ready to scope a safer AMR route?
Share your route layout, pedestrian traffic pattern and load profile so the first proposal includes the zone and speed reasoning your team needs.
Discuss your route